
Your room is your sanctuary, a reflection of your personality and style. However, decorating it can sometimes be costly. Fortunately, DIY (Do-It-Yourself) room decor is an excellent way to create a unique space without breaking the bank. In this article, we’ll explore various DIY projects that can transform your room, making it more inviting and personalized.
Why Opt for DIY Room Decor?
Personalization
One of the most significant benefits of DIY decor is the ability to tailor each piece to your unique style and preferences. Instead of choosing from mass-produced items, you can create decorations that resonate with your personality and interests.
Cost-Effective
Purchasing new decor items can become expensive quickly, especially when trying to achieve a cohesive look. By creating your own decor, you can save money while enjoying the process. Many DIY projects utilize inexpensive materials that you may already have at home.
Creative Outlet
DIY projects are not only functional, but they also provide a creative outlet. Engaging in crafting can relieve stress and enhance your well-being. Plus, there’s immense satisfaction in seeing your ideas come to life.
Essential Tools and Materials for DIY Projects
Before diving into specific projects, it’s essential to gather some basic tools and materials that will help you in various projects:
- Basic Tools: scissors, a hot glue gun, a paintbrush, a craft knife, and a ruler
- Materials: cardboard, fabric, paints, string lights, wood, and natural elements (like branches or stones)
- Adhesives: glue, tape, or double-sided adhesive
- Embroidery Supplies: needles and thread, if you plan to sew
Exciting DIY Room Decor Ideas
1. Customized Wall Art
Materials Needed:
- Canvas or poster board
- Paints (acrylic or watercolor)
- Paintbrushes
- Stencils (optional)
Instructions:
- Choose a Theme: Decide what theme you want your wall art to reflect—abstract, nature, or quotes can be great options.
- Prepare Your Canvas: If using a canvas, it can be left blank or painted a solid color as a background.
- Design: Use stencils or freehand your design onto the canvas. If you opt for quotes, use painter’s tape to ensure straight lines.
- Paint: Apply paint according to your design, layering colors for depth if necessary. Let it dry completely.
- Hang: Once dry, hang your artwork on your wall using picture hooks or adhesive strips for easy removal.
2. DIY Photo Collage Wall
Materials Needed:
- Photos (printed)
- Cork boards or a large poster board
- Decorative paper or washi tape
- Adhesive (glue dots or tape)
Instructions:
- Print Photos: Choose your favorite pictures and print them in various sizes.
- Arrange: Lay the photos out on the cork board or poster board to find a layout you love.
- Decorate: Use decorative paper or washi tape around the edges of the photos for added flair.
- Attach: Secure your photos in place using glue dots or tape.
- Display: Hang your photo collage on a focal wall, creating a personal touch to the room.
3. Upcycled Furniture
Materials Needed:
- Old furniture (think chairs, tables, or dressers)
- Sandpaper
- Paint or wood stain
- Brushes or rollers
- Decorative knobs (optional)
Instructions:
- Choose Furniture: Select a piece of furniture that needs an upgrade.
- Prep: Sand the surface to remove any old finish or paint, ensuring a smooth base.
- Paint or Stain: Apply a coat of paint or stain, following the manufacturer’s instructions. You may want to use two coats for a richer finish.
- Knobs and Details: Replace old knobs or add decorative elements like stencils or decals for a unique touch.
- Finish: Allow the piece to cure before putting it back into your room.
4. Cozy Throw Pillows
Materials Needed:
- Plain pillow covers
- Fabric paint or fabric markers
- Stencils (optional)
Instructions:
- Select Pillow Covers: Choose covers in neutral tones or colors that suit your decor style.
- Design: Plan your design. Use stencils for consistent patterns or freehand your ideas for a more personal touch.
- Paint or Draw: Use fabric paint or markers to apply your designs, allowing for creativity to flow.
- Dry: Let the pillows dry completely before using them, following the paint manufacturer’s instructions.
- Arrange: Place the pillows on your bed, couch, or chairs, mixing and matching different designs for added texture.
5. Handmade Wall Shelves
Materials Needed:
- Wooden boards
- Brackets for mounting
- Paint or stain (optional)
- Drill and screws
Instructions:
- Measure: Determine the size of shelves you want and how far apart they should be.
- Cut Wood: If necessary, cut wooden boards to your desired length.
- Paint or Stain: Apply paint or stain to the wood, allowing it to dry thoroughly.
- Install Brackets: Secure the brackets to the wall using a drill and screws, ensuring they are level.
- Hang Shelves: Place your wooden boards onto the brackets and secure them firmly.
6. String Light Decor
Materials Needed:
- String lights
- Clips or adhesive hooks
- Decorative elements (like fabric or greenery)
Instructions:
- Choose Location: Decide where you want to hang your string lights (around a window, around a mirror, or across the ceiling).
- Secure Clips: Use clips or adhesive hooks to fasten the string lights in place.
- Add Decor: Consider draping lightweight fabric or greenery around the lights for an enchanting touch.
- Power Up: Plug in your string lights and enjoy the soft, ambient glow they provide.
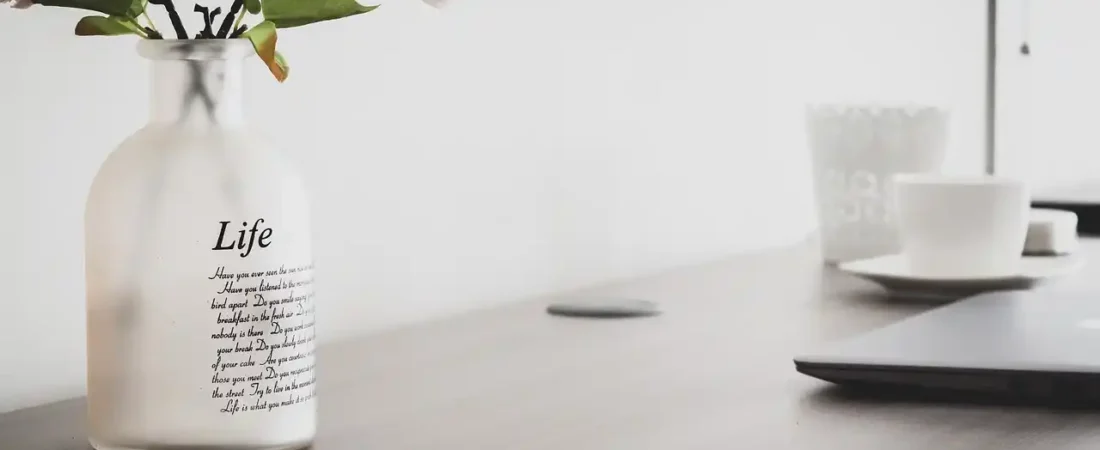
7. Decorative Jars
Materials Needed:
- Glass jars (mason jars or old candle holders)
- Paint or twine
- Fillers (like stones, sand, or fairy lights)
Instructions:
- Clean Jars: Ensure your jars are clean and free of labels.
- Decoration: Paint the outside of the jars or wrap twine around their necks for a rustic look.
- Fill: Add decorative fillers like pebbles, sand, or even fairy lights for an added sparkle.
- Display: Place these jars on your desk, shelves, or windowsills as charming decor pieces.
8. DIY Bulletin Board
Materials Needed:
- Corkboard or a wooden board
- Fabric of your choice
- Staple gun or thumbtacks
- Decorative ribbons or washi tape
Instructions:
- Cover Board: Start by covering your corkboard or wooden board with your chosen fabric. Use a staple gun at the back to secure it.
- Add Ribbons: Create a grid pattern using decorative ribbons, securing them with thumbtacks or glue at the intersections.
- Display: Pin notes, photos, and inspiration on your bulletin board to keep your creativity flowing.
- Hang: Place your bulletin board on a wall where you’ll see it often.
9. Hand-Painted Planters
Materials Needed:
- Terracotta pots or any plain planters
- Acrylic paint
- Paintbrushes
- Indoor or outdoor plants
Instructions:
- Choose Pots: Select clean, unpainted terracotta pots.
- Paint: Get creative! Paint patterns, shapes, or even motivational quotes on the planters.
- Plant: Once the paint dries, plant your indoor or outdoor plants in them.
- Display: Arrange your hand-painted planters on shelves, windowsills, or tables for a vibrant addition to your decor.
Final Touches: Enhance Your Room Decor
- Textiles: Consider incorporating various textures with rugs, throws, and curtains to create a cozy atmosphere.
- Plants: Bring life to your room with indoor plants. They improve air quality and add a refreshing touch to your decor.
- Mirrors: Strategically place mirrors to reflect light and make your space appear larger.
- Seasonal Changes: Embrace seasonal decor changes. Rotate your DIY decor to keep the space feeling fresh and appealing.
Conclusion
DIY room decor is a rewarding and enjoyable way to personalize your living space without overspending. From custom wall art to upcycled furniture, these projects offer a wide range of options to suit any style. Take the time to express your creativity, and soon you’ll have a room that feels uniquely yours.
For further inspiration and DIY tips, check out Better Homes & Gardens. Happy crafting!